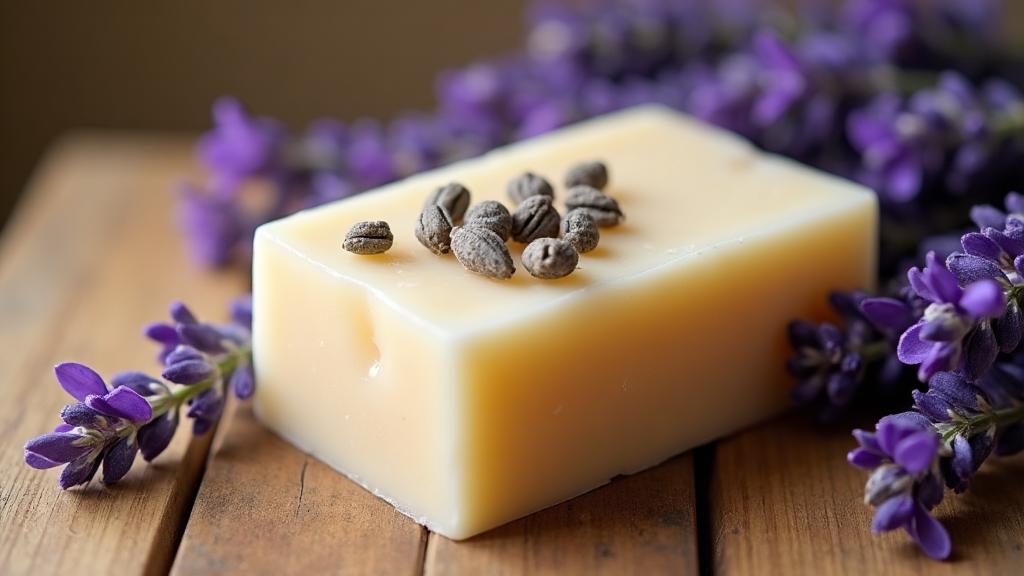
There's something almost magical about the first time you unmold a bar of soap you made yourself. I remember standing in my tiny apartment kitchen, a silicone mold in my hands, heart beating a little faster as I pushed out my very first creation. It wasn't perfect—one corner had a small air bubble, and the lavender buds had sunk a bit—but it was mine. That moment hooked me completely.
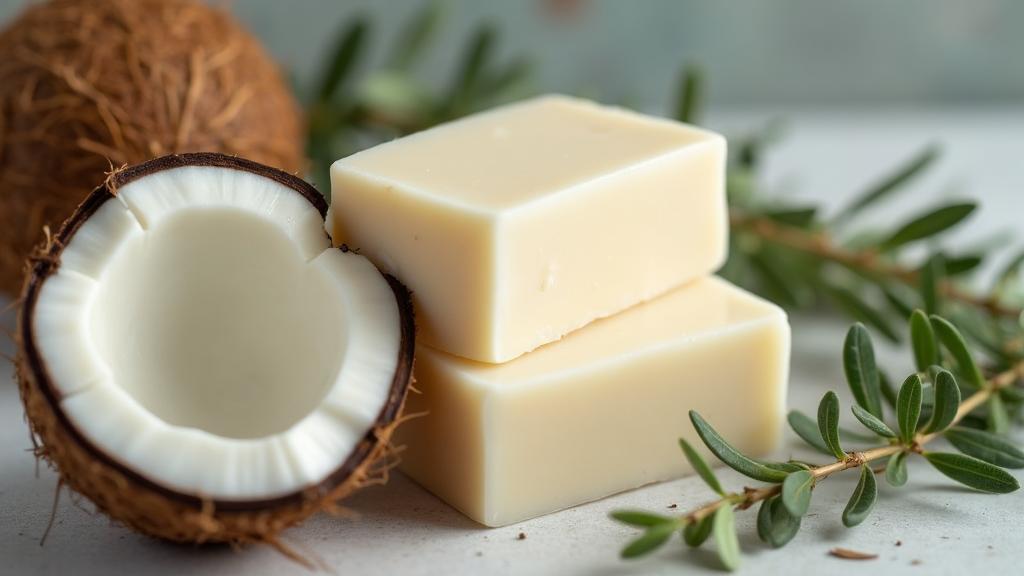
This coconut oil melt and pour soap represents the perfect starting point for anyone curious about handmade soap. Unlike cold process methods that demand precise lye calculations and weeks of curing time, melt and pour offers instant gratification. The base arrives pre-saponified, which means the chemical reaction between oils and lye has already happened safely in a factory. Your job? Simply melt, customize, and create.
I've taught this exact recipe to complete beginners at weekend workshops, and the joy on their faces never gets old. Within twenty minutes, they're holding actual bars of soap. Some add dried flower petals from their gardens. Others experiment with swirls of color. A few keep things beautifully simple—just the creamy base enhanced with a whisper of lavender essential oil.
The coconut oil base provides a wonderful foundation. It produces good lather, creates a hard bar that lasts well in the shower, and accepts additives without complaint. Dried lavender buds suspended throughout the bar add visual interest and a gentle texture. When you use the finished soap, those tiny purple flowers release their subtle fragrance—a small luxury in your daily routine.
What I love most about this project is its forgiveness. Made a mistake? Remelt and try again. The soap base doesn't judge. It simply waits for you to learn, experiment, and eventually master the craft. Consider this your first step into a much larger world of handmade body care products.
Safety Warnings
- Always use heat-resistant containers when melting soap base
- Keep melted soap away from children and pets
- Use oven mitts when handling hot containers
- Work in a well-ventilated area if adding essential oils
Tools Needed
- Microwave-safe glass measuring cup
- Silicone soap mold
- Mixing spoon (wooden or silicone)
- Kitchen scale
- Rubbing alcohol spray bottle
Ingredients
Step-by-Step Instructions
Cut and Weigh the Soap Base
Cut the melt and pour soap base into 1-inch cubes for even melting. Weigh out 1 lb (454g) of cubes.
Melt the Soap Base
Place cubes in a microwave-safe container. Heat in 30-second intervals, stirring between each interval until fully melted.
Add Optional Ingredients
Let the melted base cool slightly (about 130°F/54°C), then add essential oil and stir gently. Add half the lavender buds and stir.
Pour into Mold
Slowly pour the soap mixture into your silicone mold. Sprinkle remaining lavender buds on top.
Remove Air Bubbles
Spray the surface with rubbing alcohol to eliminate any air bubbles on the top.
Cool and Unmold
Let the soap cool completely at room temperature for 2-4 hours. Once solid, gently push the soap out of the silicone mold.
🔧 Common Mistakes & Fixes
📦 Storage Tips
- Store in a cool, dry place away from direct sunlight
- Wrap in plastic wrap or shrink wrap to prevent moisture loss
- Use within 1 year for best quality
- Keep away from humid areas like bathrooms until ready to use
Real DIYer Story
"My first batch looked like a melted mess! I microwaved the base for 3 minutes straight and it boiled over, then the lavender sank to the bottom because I added it when the soap was too hot."
— Sarah M.
🔗 References & Further Reading
Independent sources for the chemistry and safety information on this page. We are not affiliated with any of them.
- 1.Glycerol (CID 753)(opens in a new tab)
PubChem, National Library of Medicine
Properties of glycerin, the humectant that makes melt & pour bases sweat in humid air.
- 2.Saponification(opens in a new tab)
Wikipedia
The chemical reaction behind every bar of real soap, with reaction equations and history.
- 3.Sodium Hydroxide (CID 14798)(opens in a new tab)
PubChem, National Library of Medicine
Full chemical and hazard profile for lye, including GHS classification and handling data.
- 4.Sodium Hydroxide Poisoning(opens in a new tab)
MedlinePlus, National Institutes of Health
Symptoms and emergency first-aid steps for lye exposure. Worth reading before you open the bottle.
- 5.Personal Protective Equipment — Overview(opens in a new tab)
U.S. Occupational Safety and Health Administration
What eye, hand, and skin protection actually protects against, and how to choose it.
- 6.Poison Help(opens in a new tab)
U.S. Health Resources and Services Administration
Poison control hotline and online help. Keep this reachable while you work.
- 7.Handcrafted Soap and Cosmetic Guild(opens in a new tab)
HSCG
Industry association for handcrafted soap makers, with labeling and regulatory guidance.
- 8.Safer Chemical Ingredients List(opens in a new tab)
U.S. Environmental Protection Agency
EPA-reviewed ingredients grouped by function, useful when substituting additives.