The morning ritual of brewing coffee holds a special place in many households. That rich aroma drifting through the kitchen, the promise of caffeine-fueled productivity ahead. But what happens to the grounds after brewing? For years, I simply tossed them in the compost bin, never considering their potential second life. Then I discovered coffee soap.
The idea came from a barista friend who mentioned that coffee grounds work wonderfully for scrubbing grease off hands. Mechanics and gardeners have known this trick for generations—the slightly abrasive texture combined with coffee's natural oils cuts through grime remarkably well. Translating this into soap seemed like the logical next step.
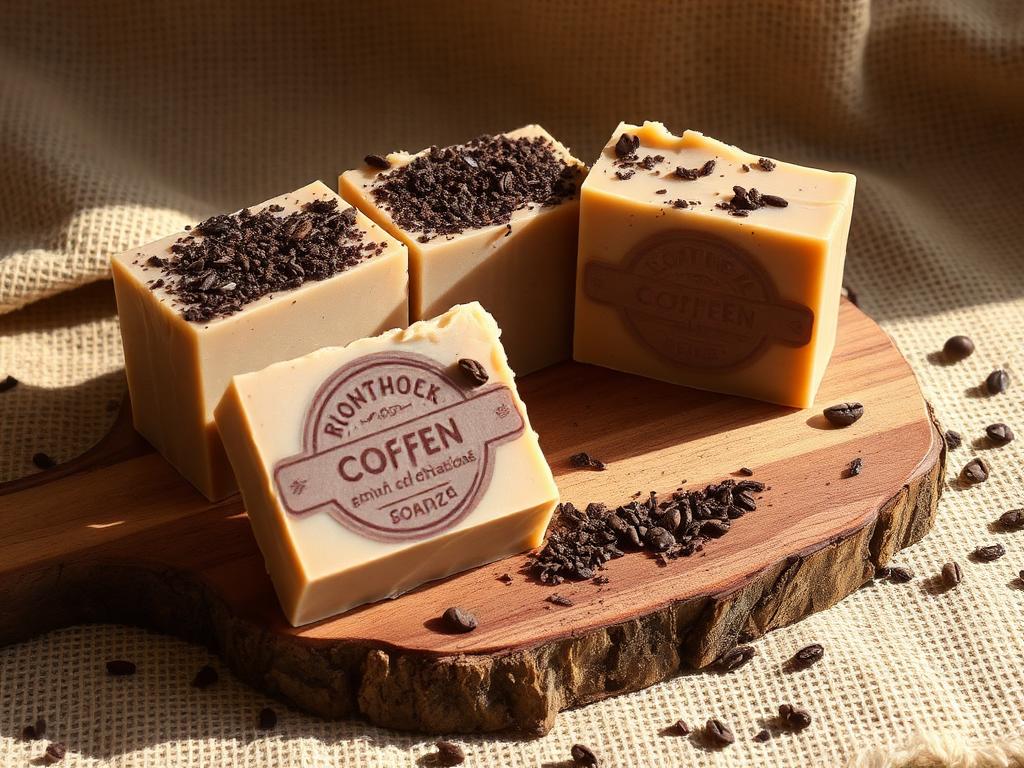
Coffee grounds add more than just texture to melt and pour soap. They bring a warm, earthy color that deepens as the soap cures. The visual effect resembles granite or speckled stone, giving each bar an organic, handcrafted appearance that commercial soaps rarely achieve. Friends who receive these as gifts often display them in their bathrooms before finally using them.
The technique requires slightly more attention than basic melt and pour because coffee grounds can sink. The solution involves patience—letting the melted base cool until it begins to thicken before adding the grounds. This suspended state holds the particles in place rather than letting them settle to the bottom. It's a small adjustment that makes a significant difference in the final product.
I prefer using dried, used coffee grounds rather than fresh. The brewing process removes some of the natural oils that might otherwise go rancid in soap. Simply spread your used grounds on a baking sheet and let them dry completely before incorporating them into your recipe. This preparation step ensures your soap smells like coffee rather than developing off-odors over time.
Safety Warnings
- Ensure coffee grounds are completely dried before use
- Coffee can stain light-colored surfaces and towels
- Melted soap base is hot - use caution
- Test texture on small area before full use
Tools Needed
- Microwave-safe container
- Silicone mold
- Stirring spoon
- Kitchen scale
- Baking sheet for drying grounds
Ingredients
Step-by-Step Instructions
Prepare Coffee Grounds
Spread used coffee grounds on a baking sheet. Let dry completely, 24-48 hours, or bake at 200°F for 30 minutes.
Melt the Base
Cut and melt shea butter base in 30-second intervals until liquid.
Cool Slightly
Let base cool until a thin skin forms on top, about 5 minutes. This prevents grounds from sinking.
Add Grounds and Pour
Stir in coffee grounds and optional essential oil quickly. Pour immediately into mold.
🔧 Common Mistakes & Fixes
📦 Storage Tips
- Store in cool, dry place
- Use within 6 months for best scent
- Keep away from humid areas
Real DIYer Story
"I was so excited to make coffee soap that I used fresh, wet grounds straight from the pot. Two weeks later, the soap had fuzzy mold growing on top. Lesson learned!"
— David L.
🔗 References & Further Reading
Independent sources for the chemistry and safety information on this page. We are not affiliated with any of them.
- 1.Glycerol (CID 753)(opens in a new tab)
PubChem, National Library of Medicine
Properties of glycerin, the humectant that makes melt & pour bases sweat in humid air.
- 2.Saponification(opens in a new tab)
Wikipedia
The chemical reaction behind every bar of real soap, with reaction equations and history.
- 3.Sodium Hydroxide (CID 14798)(opens in a new tab)
PubChem, National Library of Medicine
Full chemical and hazard profile for lye, including GHS classification and handling data.
- 4.Sodium Hydroxide Poisoning(opens in a new tab)
MedlinePlus, National Institutes of Health
Symptoms and emergency first-aid steps for lye exposure. Worth reading before you open the bottle.
- 5.Personal Protective Equipment — Overview(opens in a new tab)
U.S. Occupational Safety and Health Administration
What eye, hand, and skin protection actually protects against, and how to choose it.
- 6.Poison Help(opens in a new tab)
U.S. Health Resources and Services Administration
Poison control hotline and online help. Keep this reachable while you work.
- 7.Handcrafted Soap and Cosmetic Guild(opens in a new tab)
HSCG
Industry association for handcrafted soap makers, with labeling and regulatory guidance.
- 8.Safer Chemical Ingredients List(opens in a new tab)
U.S. Environmental Protection Agency
EPA-reviewed ingredients grouped by function, useful when substituting additives.