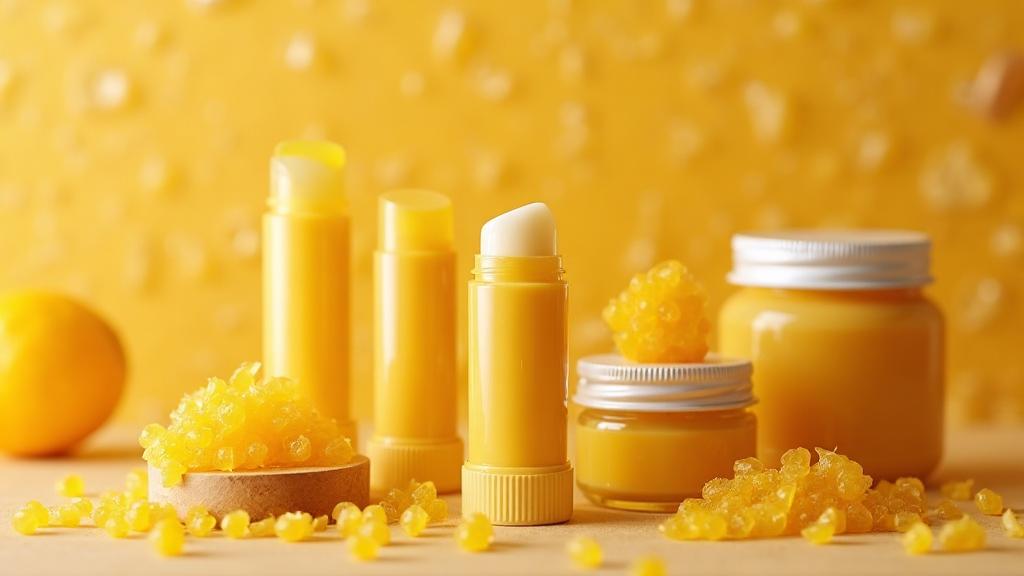
I keep a row of tiny tins on my bathroom shelf, each one filled with lip balm I made myself. There's something deeply satisfying about reaching for lip care that you created in your own kitchen, knowing exactly what touches your lips—beeswax from actual bees, oils pressed from real plants, nothing synthetic or unpronounceable.
Lip balm might be the perfect beginner project for natural product making. It requires just three ingredients, takes less than thirty minutes from start to finish, and yields immediate, usable results. Unlike soap, which needs weeks to cure, or lotions, which demand careful emulsification, lip balm is almost foolproof. Melt, mix, pour, done.
Beeswax forms the structural backbone of this recipe. Without it, you'd have a puddle of oils—pleasant, perhaps, but not practical for pocket or purse. Beeswax solidifies the mixture, creating a firm product that glides smoothly when pressed against lips. The amount of beeswax determines the final texture: more wax creates a harder, glossier balm, while less wax yields a softer, creamier application.
The oils I've chosen—coconut and olive—represent a balance of properties. Coconut oil melts readily at body temperature, meaning the balm begins working the moment it touches warm lips. Olive oil provides richness and slip, ensuring the product spreads evenly without tugging at delicate lip tissue. Together with beeswax, these three ingredients create a lip balm that rivals anything on store shelves.
One batch yields approximately ten standard lip balm tubes. That's enough to fill a holiday gift basket, supply your entire family for months, or keep backups in every jacket pocket, purse, and desk drawer. Once you experience the pleasure of never running out of lip balm again, you'll wonder why you ever bought the commercial stuff.
Safety Warnings
- Use double boiler method - direct heat can burn oils
- Beeswax is flammable - do not overheat
- Work quickly once melted - beeswax solidifies fast
- Keep containers on stable surface while pouring
Tools Needed
- Double boiler or makeshift setup
- Lip balm tubes or small tins
- Kitchen scale
- Small measuring cup with pour spout
- Pipette or small funnel (optional)
Ingredients
Step-by-Step Instructions
Set Up Double Boiler
Fill a pot with 2 inches of water. Place a heat-safe glass container on top.
Melt Beeswax First
Add beeswax to container and heat until fully melted, stirring occasionally.
Add Oils
Once beeswax is melted, add coconut oil and olive oil. Stir until fully combined.
Pour Quickly
Immediately pour into lip balm tubes or tins. Work fast - beeswax solidifies quickly.
Let Cool Completely
Allow to cool undisturbed for 30 minutes to 1 hour before capping.
🔧 Common Mistakes & Fixes
📦 Storage Tips
- No preservatives needed for water-free formula
- Store in cool place to prevent melting
- Use within 1 year
- Keep cap on when not in use
🔗 References & Further Reading
Independent sources for the chemistry and safety information on this page. We are not affiliated with any of them.
- 1.Essential Oil(opens in a new tab)
Wikipedia
Extraction methods, composition, and documented sensitization risks of essential oils.
- 2.Saponification(opens in a new tab)
Wikipedia
The chemical reaction behind every bar of real soap, with reaction equations and history.
- 3.Sodium Hydroxide (CID 14798)(opens in a new tab)
PubChem, National Library of Medicine
Full chemical and hazard profile for lye, including GHS classification and handling data.
- 4.Sodium Hydroxide Poisoning(opens in a new tab)
MedlinePlus, National Institutes of Health
Symptoms and emergency first-aid steps for lye exposure. Worth reading before you open the bottle.
- 5.Personal Protective Equipment — Overview(opens in a new tab)
U.S. Occupational Safety and Health Administration
What eye, hand, and skin protection actually protects against, and how to choose it.
- 6.Poison Help(opens in a new tab)
U.S. Health Resources and Services Administration
Poison control hotline and online help. Keep this reachable while you work.
- 7.Handcrafted Soap and Cosmetic Guild(opens in a new tab)
HSCG
Industry association for handcrafted soap makers, with labeling and regulatory guidance.
- 8.Safer Chemical Ingredients List(opens in a new tab)
U.S. Environmental Protection Agency
EPA-reviewed ingredients grouped by function, useful when substituting additives.